twine 101
(abridged version: creating links, inserting images,
and uploading projects)
for the detailed version of this tutorial,
please click here.
*
This tutorial was created in February 2019
for Twine version 2.2.1 Harlowe format
Twine is an open source program that enables
the creation of hypertext-based projects.
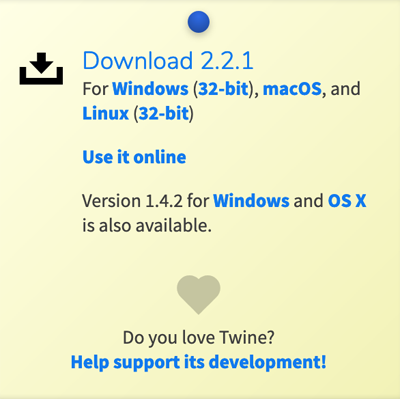
To start, download and open Twine for your operating system via twinery.org
Install the program and launch it. You should see something similar to the image below, except blank since you probably do not have any projects yet:
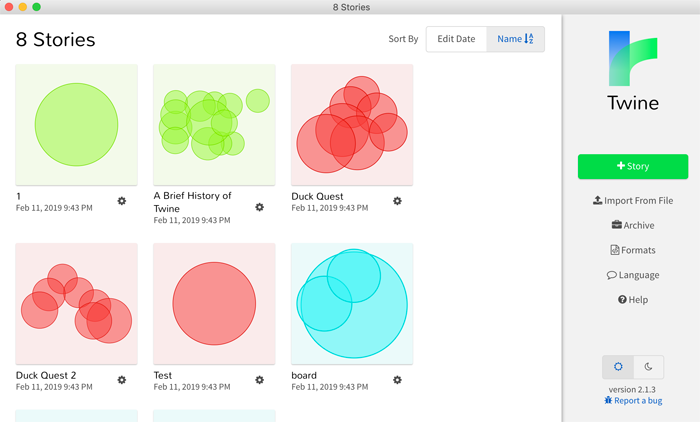
Click the green +Story button on the right to get started.
Name your project (this can be changed later). You will now see a new interface with a singular passage called Untitled Passage.
Before we click this passage, just know that if you click the title of your story in the left-hand corner, a menu will appear.
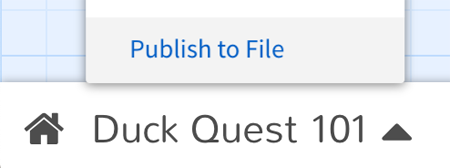
This is how you will export your story as an .html file later.
- Also note that you can change the story format, which changes both the cosmetic interface of your project and how it parses code.
For now just leave everything as its default (Harlowe 2).
- Remember that if you need to look anything up via a search engine, include the version of Twine you are working with (2) and the story format you are using (Harlowe 2) to avoid conflicting information.
Let's edit the passage. Double click this passage to edit it.
Rename the passage whatever you'd like, but I would suggest Start (with a capital s).
Twine's passages and links are case sensitive, so name them words or phrases you can easily remember and type out.
Ignore the tags section for now since we are not using any CSS or JavaScript in this tutorial.
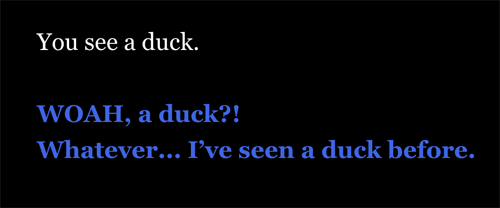
The section that reads 'Double-click this passage to edit it.' is where the text viewers will read and interact will go. Type something like:
You see a duck.
WOAH, a duck?!
Whatever... I've seen a duck before.
We will now make two hyperlinks.
There are several ways to create hyperlinks in Twine 2 and Harlowe 2, but my preferred method is:
[[clickable text|the name of the passage being linked to]]
So for example:
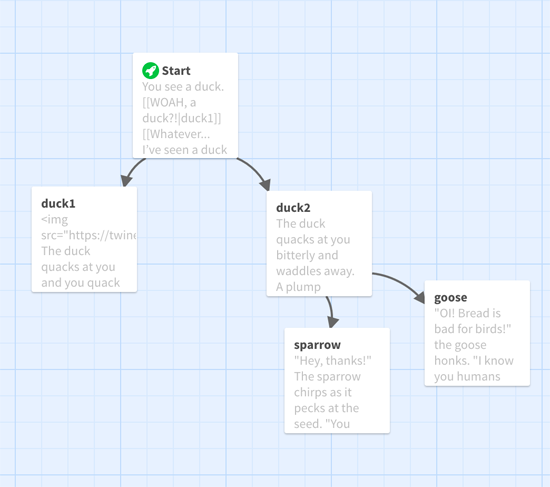
[[WOAH, a duck?!|duck1]]
[[Whatever... I've seen a duck before.|duck2]]
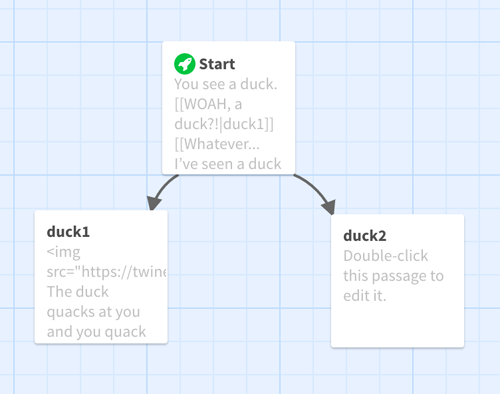
Your passage's links should resemble the following image:

duck1 (lowercase) will be one passage and duck2 will be another.
Click outside of the box and Twine will tell you that you've got a broken link. Hey, thanks!
To fix this, create two new passages using the green +Passage button in the right-hand corner.
You can arrange all of your passages however you wish by dragging and dropping them.
Rename one passage duck1 and the other duck2. The red x will go away and you will see arrows connecting all of the passages, indicating links.
In duck1, you can type something like,
The duck quacks at you and you quack back. DUCKS RULE!
The end.
Let's also add an image.
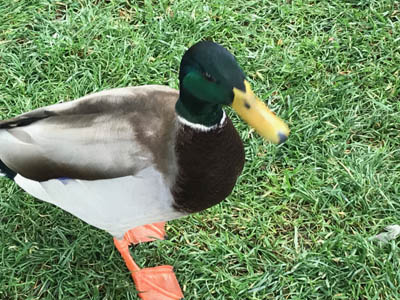
You can use this of a duck image below.
I have created the image and I have released to the public domain: you are free to use this image however you wish.
The image is already resized and ready to use in your story.
You should right click and save the image to your computer and upload it to your own server, then insert the URL using the following code. Please don't hotlink or use images that are not in the public domain and/or not created by you.
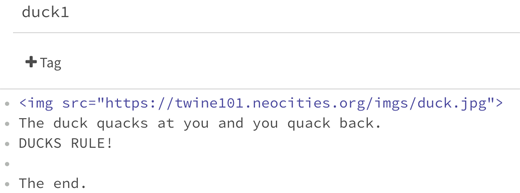
Here is the actual code to use in Twine:
Insert this code somewhere in your passage: I would recommend either above all of your text or below it. I am placing the image above the text.
So now our passage should look like this, except ideally using your own URL:
Click outside of the editor and hover over the passage. A menu will pop up.
Select the rocket icon on the right to make duck1 the passage that will begin the story; don't worry, we will set Start as the actual beginning later. For now we want to see what we've done to this passage. You should see something like this:
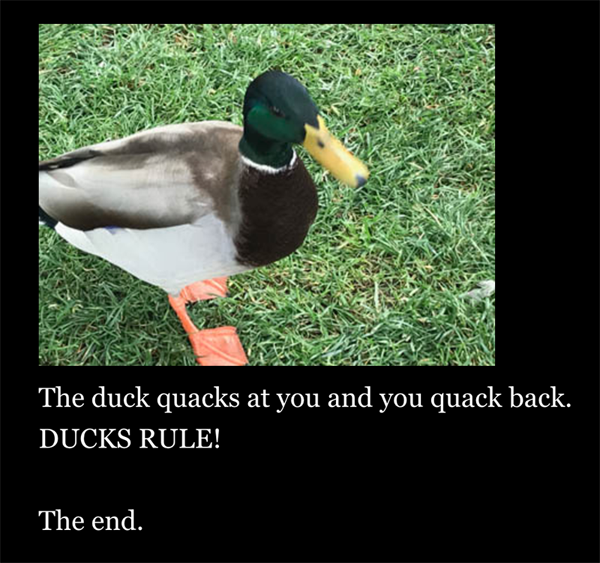
Nice! Oh, what's this now... is it... could it be?
A BONUS GOOSE?!
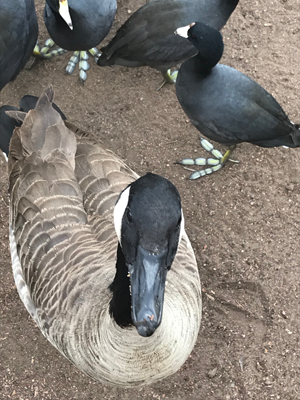
That's right! Feel free to use this image in your project however you wish. We won't be using it in this tutorial, but go ahead and experiment with different or multiple images as you learn Twine.
Let's continue by creating more links!
In duck2, we can give the players some options by creating further links:
The duck quacks at you bitterly and waddles away.
A plump sparrow bounces around your feet chirping while a goose lumbers around the lake shore.
[[Feed the sparrow some birdseed|sparrow]]
[[Feed the goose some bread|goose]]
Create two new passages and name them sparrow and goose. In sparrow, you can type something like:
"Hey, thanks!" The sparrow chirps as it pecks at the seed. "You rule!"
The end.
And for goose:
"OI! Bread is bad for birds!" the goose honks. "I know you humans don't really like us geese and it's a nice gesture to feed me, but please don't feed us bread! It's bad for us!"
The end.
You can end the game here or add more links, like 'don't lecture me goose!' or 'oh no, sorry goose. I just wanna be friends.' Etc.
Hint: that cool picture of the goose might work well with this passage...
I'm going to end the story here, but first let's make sure the Start passage is where the story begins so we can test our project before exporting it.
Hover your cursor over the Start passage and click the rocket ship icon; Start is now the passage your project will begin from (you can only have one starting passage, by the way). Go ahead and click 'play' and make sure everything is in order.
We now have a story that branches using links and includes an image.
To export this project and upload it to the Web, go back to the hidden menu by click the name of your project in the left-hand corner.
Name your file and save it as the default HTML option. The name you give your project this will be a part of the file's URL when it is uploaded, so do not name it owiefowehjoirwejroiwjr923i4234 unless you really want to.
You now have a file called duckquest.html (or whatever.html) somewhere on your computer. Now you can upload this file live to the web for others to read and play.
also, here is a longer, more detailed version of this tutorial